The Customer Service team will be unavailable on December 24 and 25. They will return to their normal hours on Thursday, December 26.
CloseFestive Holiday Crafts for Kids
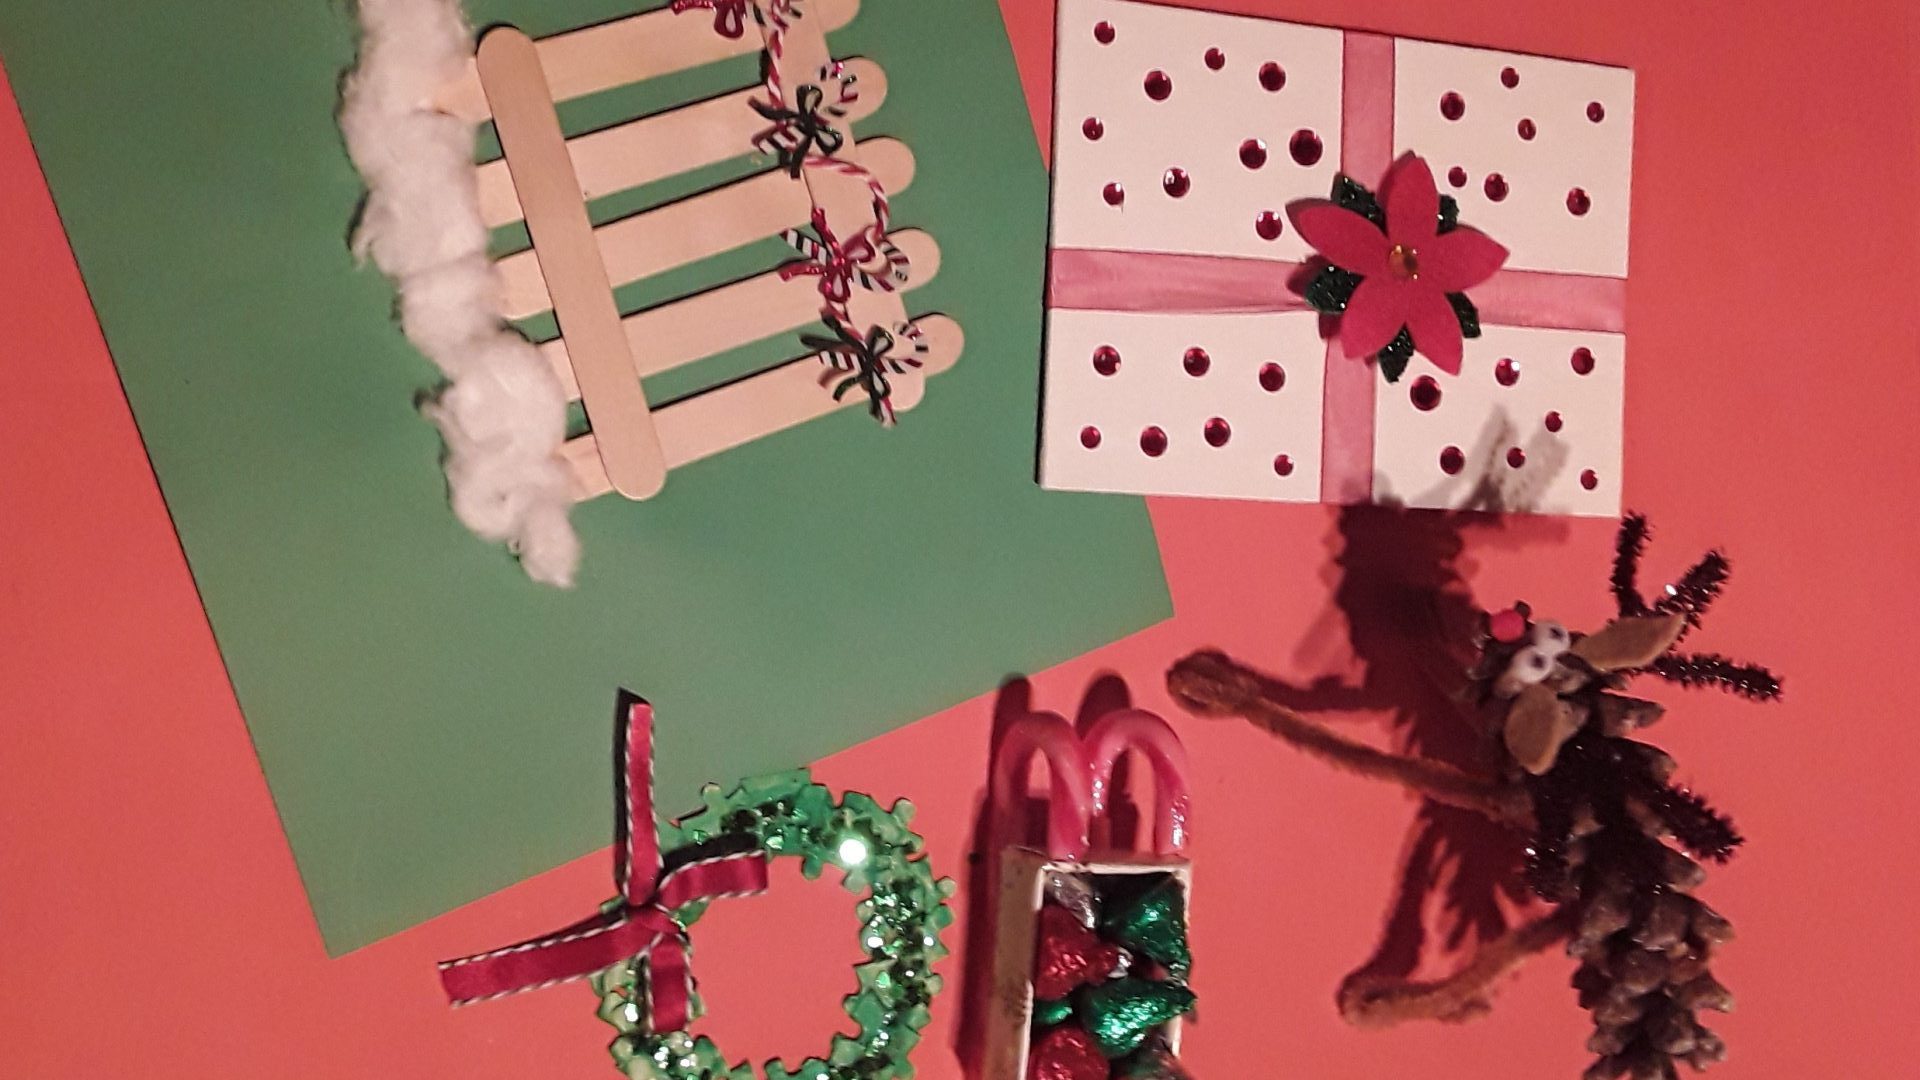
Looking for some crafts to get you into the holiday spirit? We’ve got you covered with these five fun and festive craft ideas for ages 5 and up.
Note: Provide adult assistance as needed. Young children will be able to assist with portions of the construction steps (e.g., gluing, painting, etc.). When working with small parts, adult supervision is required.
Festive Holiday Fence
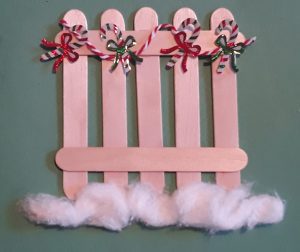
Materials:
- (1) sheet of construction paper—red or green
- (7) wood craft sticks
- (2 to 4) cotton balls
- variety of adhesive-backed holiday-themed stickers (e.g., candy canes, holiday lights, bows)
- a long piece of thin yarn (to use as fence garland)
- clear glue
Construction Steps:
- Glue 5 of the 7 wood craft sticks to the sheet of construction paper. Space them out evenly so that the width of the fence is equal to one wood craft stick.
- Glue the two remaining wood craft sticks on top of the fence posts in a horizontal direction, one about ½-inch from the top of the fence and the other about ½-inch from the bottom of the fence, to create the crossbars.
- Glue yarn “garland” along the top crossbar of the fence in a wavy pattern. Let the glue dry.
- Apply holiday stickers along the top crossbar of the fence. If needed, secure the stickers with a little bit of glue.
- Stretch a few cotton balls and glue them along the base of the fence to create snow.
Optional:
- Paint the wood craft sticks another color.
- Use more craft sticks to build a bigger fence.
- Add more tactile embellishments around the fence (e.g., a snowman, some snow-covered bushes).
Sneak in a little learning:
- Have the child use a ruler to measure the craft sticks.
- Introduce spatial concepts (e.g., vertical, horizontal, on top of, below).
Puzzle Wreath Ornament
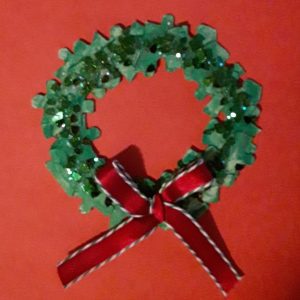
Materials:
- (20-30) jigsaw pieces from an old/unused jigsaw puzzle
- piece of cardboard pre-cut to a donut shape/ring (narrower than the width of the jigsaw puzzle pieces used)
- green paint
- paint brush
- holiday-themed craft confetti purchased from craft store (Tip: Avoid using messy glitter.)
- holiday ribbon (enough to create a small bow)
- clear glue
Construction Steps:
- Pre-cut a cardboard ring narrower than the width of the jigsaw puzzle pieces used. Allow a 2-inch opening inside the ring so that the wreath can be hung on a tree branch.
- Paint one side of the jigsaw puzzle pieces. Let the paint dry.
- Glue the jigsaw puzzle pieces on top of the pre-cut cardboard ring. Slightly overlap the jigsaw puzzle pieces as they are glued to the cardboard ring. Let the glue dry.
- Drizzle some clear glue around the top of the wreath and sprinkle with holiday confetti. Let it dry.
- Make a small bow with a holiday ribbon and glue it to the puzzle wreath.
Optional:
- Apply rhinestones or pompoms to decorate the wreath.
- Add a jingle bell to the wreath’s bow.
- Make multiple jigsaw puzzle wreaths and link them together to make a decorative garland.
Sneak in a little learning:
- Count the number of jigsaw pieces before they are glued together—is there an even or odd number?
- Measure the inside opening of the wreath.
- Measure the diameter of the wreath, outside edge to outside edge.
Candy Sleigh
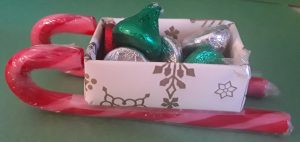
Materials:
- bottom of a small cardboard gift box (approximately 2.5 in. x 2 in.)
- (2) candy canes
- a small piece of holiday wrapping paper (enough to wrap the bottom and sides of the gift box)
- holiday candy (enough to fill the inside of the gift box)
- double-sided tape
Construction Steps:
- Wrap the bottom and sides of the cardboard gift box with holiday wrapping.
- Place the candy canes parallel to each other with the hooked ends of the candy canes facing upward to look like runners of a sleigh. The ideal spacing for the candy canes will allow the box to be flush with the hooked ends of both candy canes.
- Apply double-sided tape to the long sides of the bottom of the wrapped gift box and affix the box on top of the properly spaced candy canes.
- Fill the gift box with assorted holiday candy.
Optional:
- Make different sizes of sleighs using the same method with large and small candy canes.
- Use the constructed candy cane sleighs as place card holders at the holiday dinner table. Write/braille each dinner guest’s name on a sleigh.
Sneak in a little learning:
- Measure the sides of the box and length of the candy canes.
- Review shape and spatial terminology (e.g., parallel, curved, straight, next to) as the candy sleigh is constructed.
- Count the pieces of candy that the candy sleigh can hold.
Pinecone Reindeer
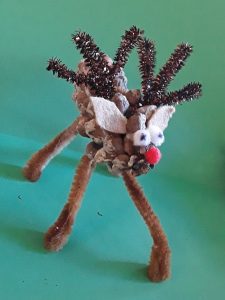
Materials:
- (1) pinecone
- brown felt (enough for two small ears)
- (2) small craft eyes or white pompoms (with pupils drawn with a black marker)
- (1) small red pompom (for the nose)
- (8) brown pipe cleaners (2 pipe cleaners twisted together for each reindeer leg)
- (2) pipe cleaners in a different color (e.g., tan, sparkly brown) than the pipe cleaners used for the reindeer legs
- clear glue
Construction Steps:
- Glue the small craft eyes or white pompoms (eyes) and the small red pompom (nose) to the larger end of the pinecone to construct the reindeer’s face.
- Cut two small ears from the brown felt. Glue the ears into place.
- Twist four pairs of the brown pipe cleaners together using the full length of the pipe cleaners. Wrap the end of each pair of twisted pipe cleaners around the body of the pinecone to form the reindeer’s four legs. Leave about four inches for the legs and wrap the very end of each leg under to form the reindeer’s hooves. Bend/adjust as needed to allow the reindeer to stand upright.
- Form the deer’s antlers using the two different colored pipe cleaners. Bend each pipe cleaner into a three-tined fork shape leaving ¾-inches available at the end to insert into the pinecone on each side of the reindeer’s head. Secure with glue, if needed.
Optional:
- Collect pinecones, if possible, from a natural environment to use for the craft activity.
- Use a pinecone to create other types of holiday decorations (a holiday tree for a snow village, a tree ornament, etc.).
Sneak in a little learning:
- Discuss other animals that have antlers (e.g., moose, elk, caribou).
- Explore the shapes and sizes of different pinecones.
Creative Holiday Canvas
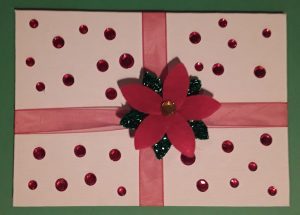
Materials:
- (1) small white painting canvas (greeting card size is ideal, but any size is fine)
- assorted craft materials that can be used to decorate the canvas to look like the top of a gift (e.g., ribbon, yarn, rhinestones, markers, paints, textured papers, stickers, bows, etc.)
- clear glue and/or double-sided tape for non-adhesive-backed embellishments
Construction Steps:
This craft activity is intended to be open-ended and guided by the creativity and preference of the child. Simply allow the child to decorate the blank canvas to resemble the top of a gift package using a variety of colors and interesting textures. Their decorated canvas can be showcased on a mantel, given as a present in lieu of a greeting card, etc.
Sneak in a little learning:
- Introduce and review terminology related to texture (e.g., bumpy, rough, sticky) and shape (e.g., circle, square, rectangle) as the canvas is being decorated.
Have fun crafting! For more craft materials, check out our Fine Arts Toolkit.
