Orders placed between March 27 – 31 will not ship until April 1 due to APH warehouse closure for inventory.
CloseLearning to Braille with a Slate and Stylus: Pop-It Braille Basics
February 13, 2024
Writing braille with a slate and stylus doesn’t have to be scary. In fact, it can be a lot of fun! In this post, you’ll learn the mechanics of writing braille with a slate and stylus, using Pop-Its toys as your guide.
Why a slate and stylus?
You can use a slate and stylus in the same context that print writers and readers use pen and paper, such as:
- Grocery lists
- Flash cards
- Task lists
- Jotting down phone numbers when you’re using or are away from your smart phone
- Labels for household items and food containers
- Keeping a journal
- Making greeting cards
Understanding standard and “mirror” braille cells
When reading print or braille or writing braille with a Perkins or a refreshable braille display, you move your eyes or hands from left to right. When writing braille with a slate and stylus, you move from right to left. Imagine a “standard” braille cell. Dots 1, 2, and 3 are in the left column, and dots 4, 5, and 6 are in the right column. Now, mentally flip over the standard braille cell and imagine its mirror image. Starting from the right, dots 1, 2, and 3 are in the right column and dots 4, 5, and 6 are in the left column.
Practicing with Pop-Its
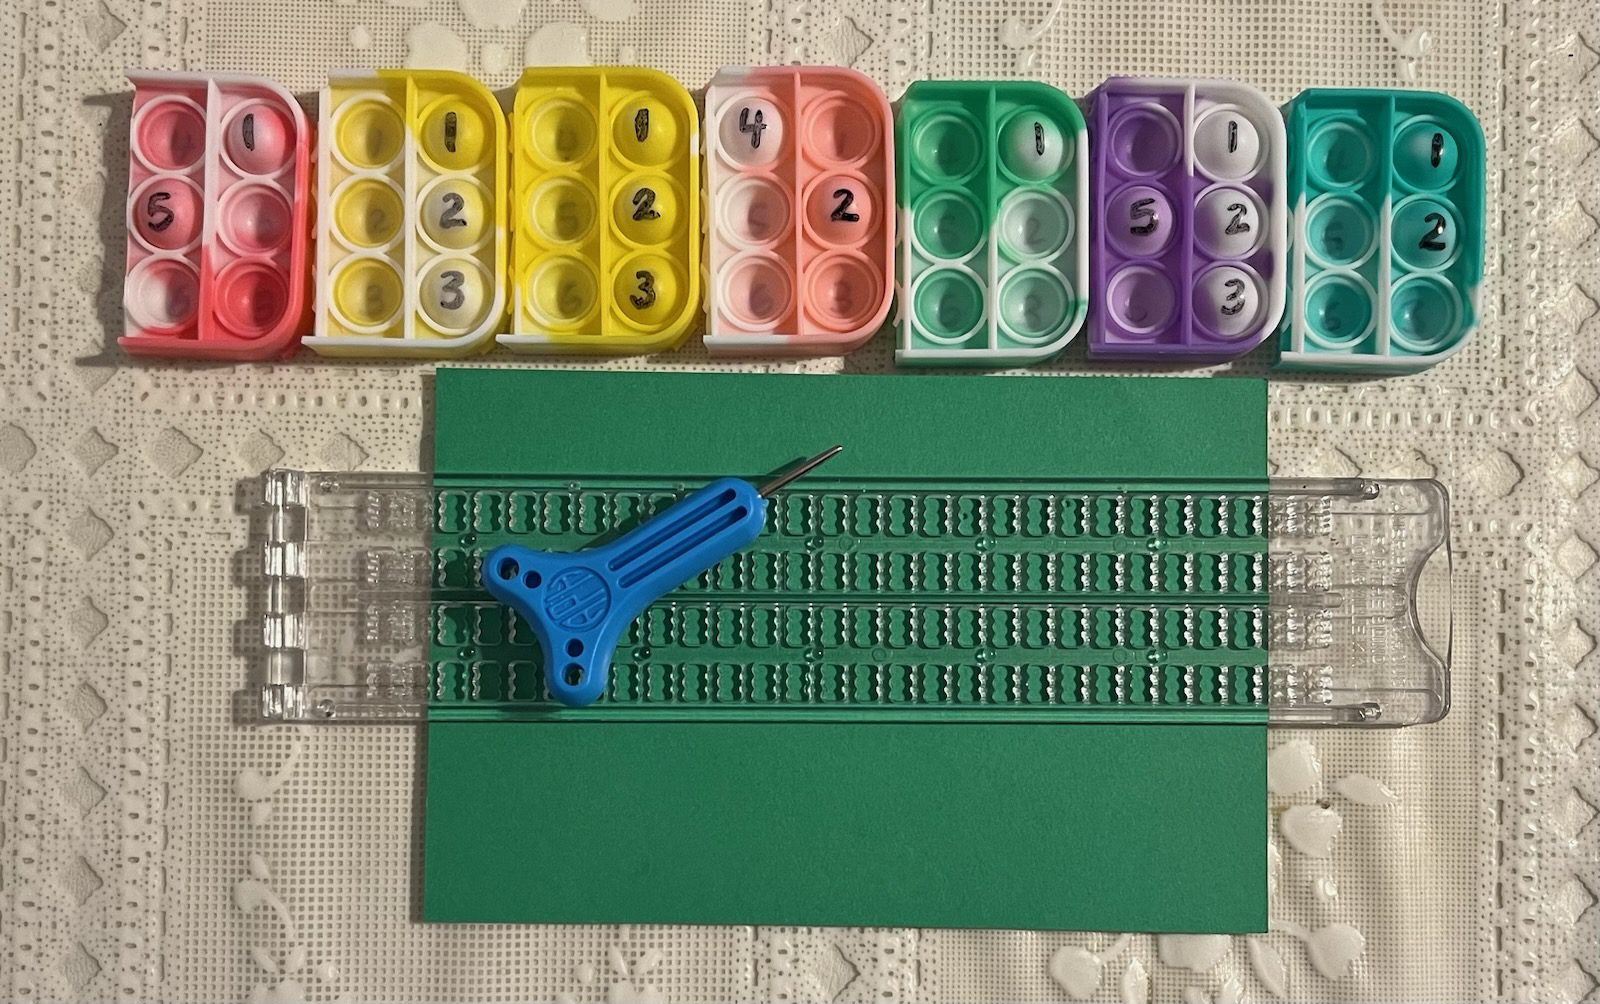
We’ll use homemade Pop-It braille cells lined up right-to-left above a slate to write the word “braille” in Grade 1 UEB. (You can also use APH’s Pop-A-Cells to practice.)
- Create seven braille-cell Pop-Its by trimming a Pop-It toy down to six bubbles. Make sure the two columns of bubbles are lined up evenly, like a braille cell.
- Pop each Pop-It braille cells’ bubbles into the “up” position.
- Load your preferred slate with paper and set it on the table.
- For the first Pop-It, depress bubbles 1 and 2 to create the letter “b.”
- Flip over the Pop-It, and place it above your slate, aligned right.
- Note the bubbles in the “up” position represent a mirror image of the letter “b,” where Dots 1 and 2 are in the right column.
- Starting with a new Pop-It, depress dots 1, 2, 3, 5 to form the letter “r.”
- Flip it over and place it above your slate to the left of the first Pop-It. This seems counter-intuitive, but remember you’re writing right-to-left. Notice the bubbles in the up position are a mirror image of the letter “r,” where Dots 1, 2, and 3 are in the right column and Dot 5 is in the left column.
- Repeat for all letters in the word “braille,” ensuring you place each subsequent letter to the left of the one before.
- Now, use the line of Pop-Its as a guide as you braille right-to-left on your slate. To help with muscle memory, always depress a symbol’s dots in the same order. Start in the right column and depress the dots from top-to-bottom, then move to the left column and depress the dots from top-to-bottom. When brailling the letter “r,” for example, depress Dot 1, then 2, then 3 in the right column, and then move to the left column and depress Dot 5.
Once you get the hang of brailling right-to-left, set aside the Pop-Its and then braille to your heart’s content!
Share this article.
Related articles

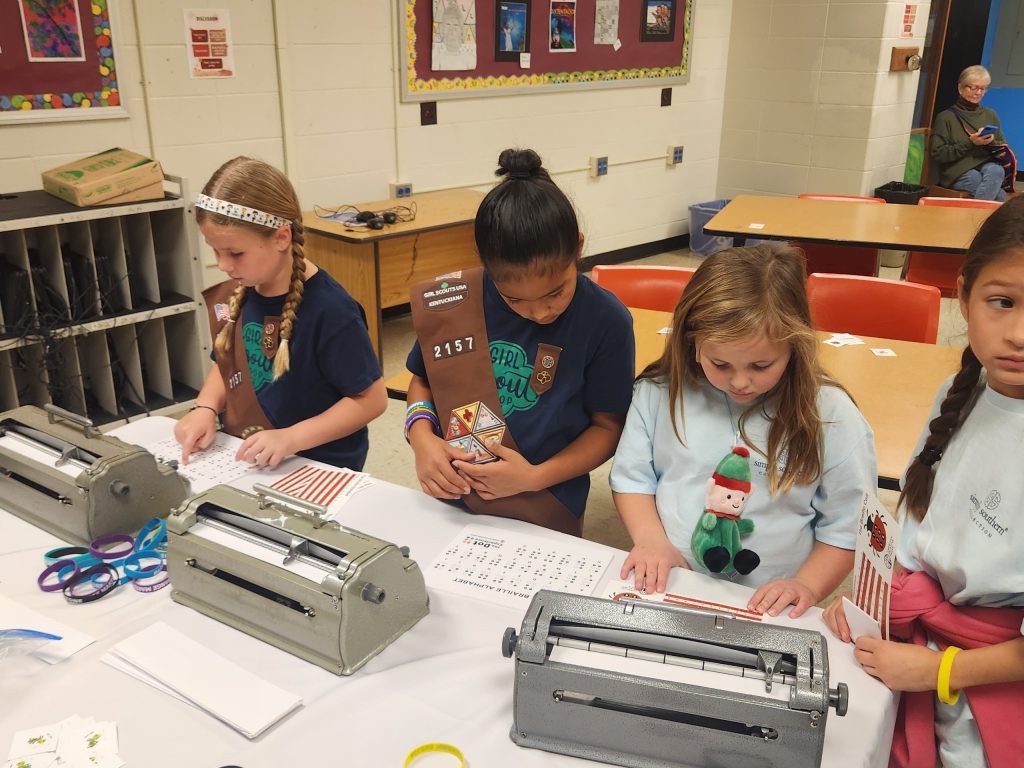
2025 KY Braille Challenge: Celebrating 25 Years
For the last 25 years, students from around the world have come together for a braille literacy competition: the Braille...
Literacy Through Touch: Introducing Braille with The Dot Experience Programs
The six dots in The Dot Experience logo represent the structure of the braille cell, an important code that makes...
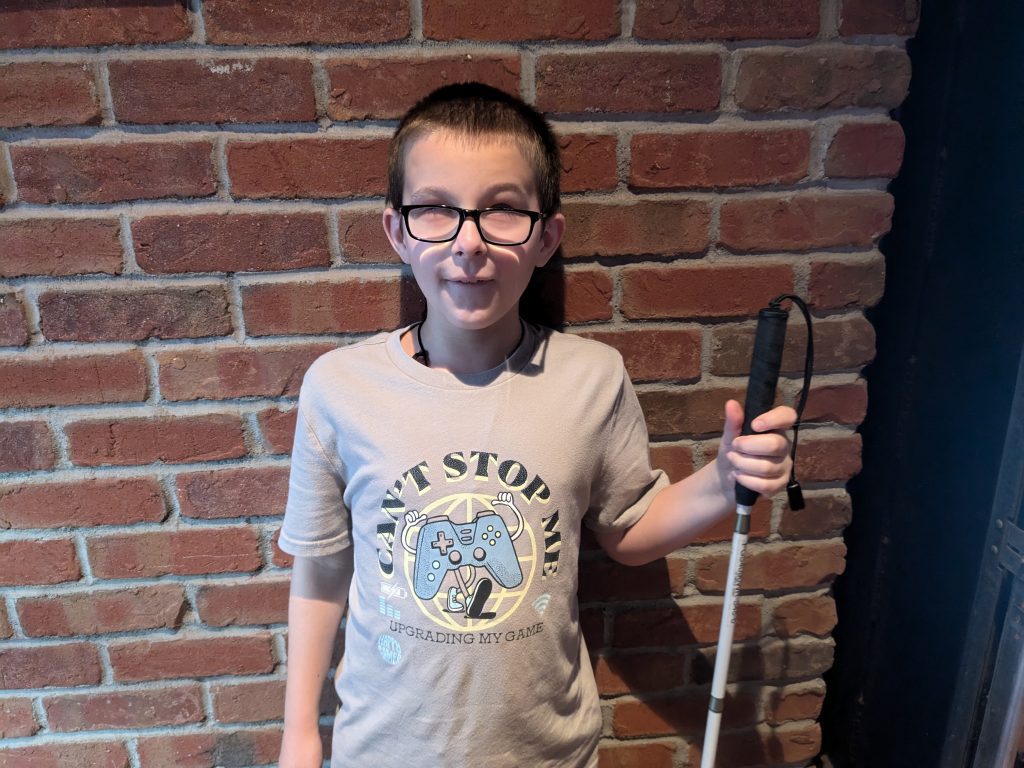
Soaring to Success: Student Strengthens Braille and Tactile Literacy Skills on the Monarch
A new piece of access technology can be both educational and fun. For rising fourth grader Gavin Leblond, that device...